How to install Maven in Eclipse IDE
Maven is a build tool that is written in Java. Maven is used to proceed the project faster. It was developed by Apache Software Foundation. It building and managing the java projects.
While working with Eclipse, Maven helps to build, package and deploy the project by POM. Maven makes simpler to resolve jar decencies.
Maven Goal
- Making the build process easy
- Providing a uniform build system
- Providing quality project information
- Providing guidelines for best practices development
- Allowing transparent migration to new features
Now follow the below step to integrate Maven Plugin in your Eclipse IDE.
Step 1: Open the IDE, go to Help » Install New Software
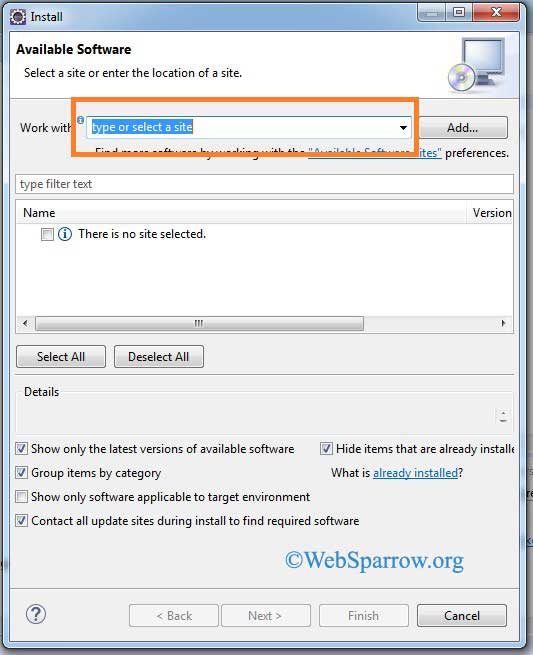
Step 2: A pop-up window will open, In the area of Work with paste this URL: http://download.eclipse.org/technology/m2e/releases
then click the Add button and select the Maven Integration for Eclipse
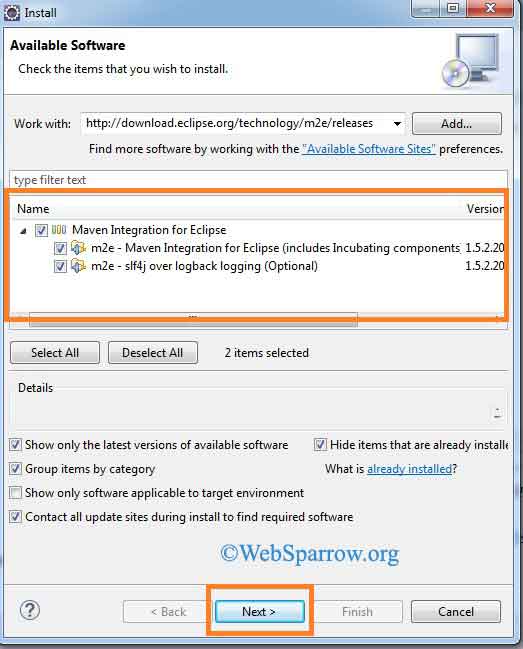
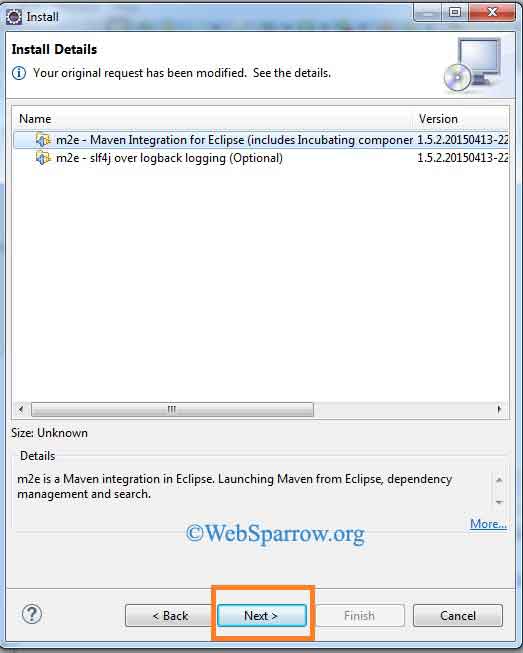
Step 3: Click the Next button. You will the Installation detail
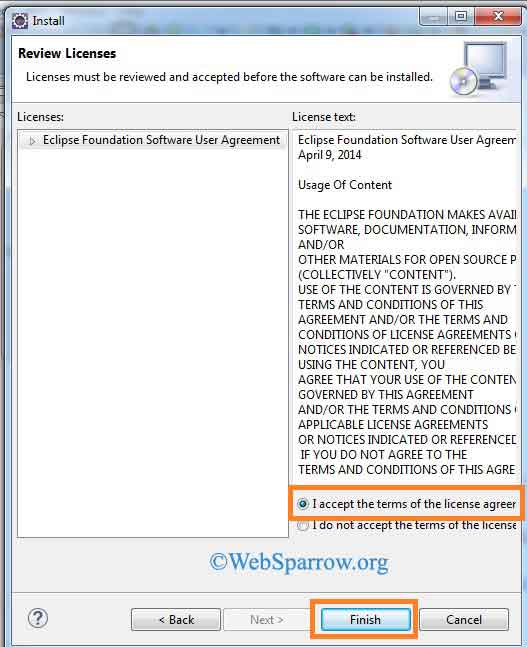
Step 4: Accept the Term of License and click the Finish button.
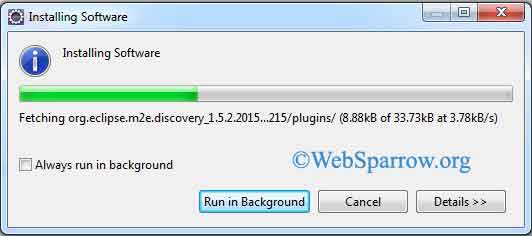
Step 5: It will install the software.
Step 6: Now all is set, restart your Eclipse IDE.